

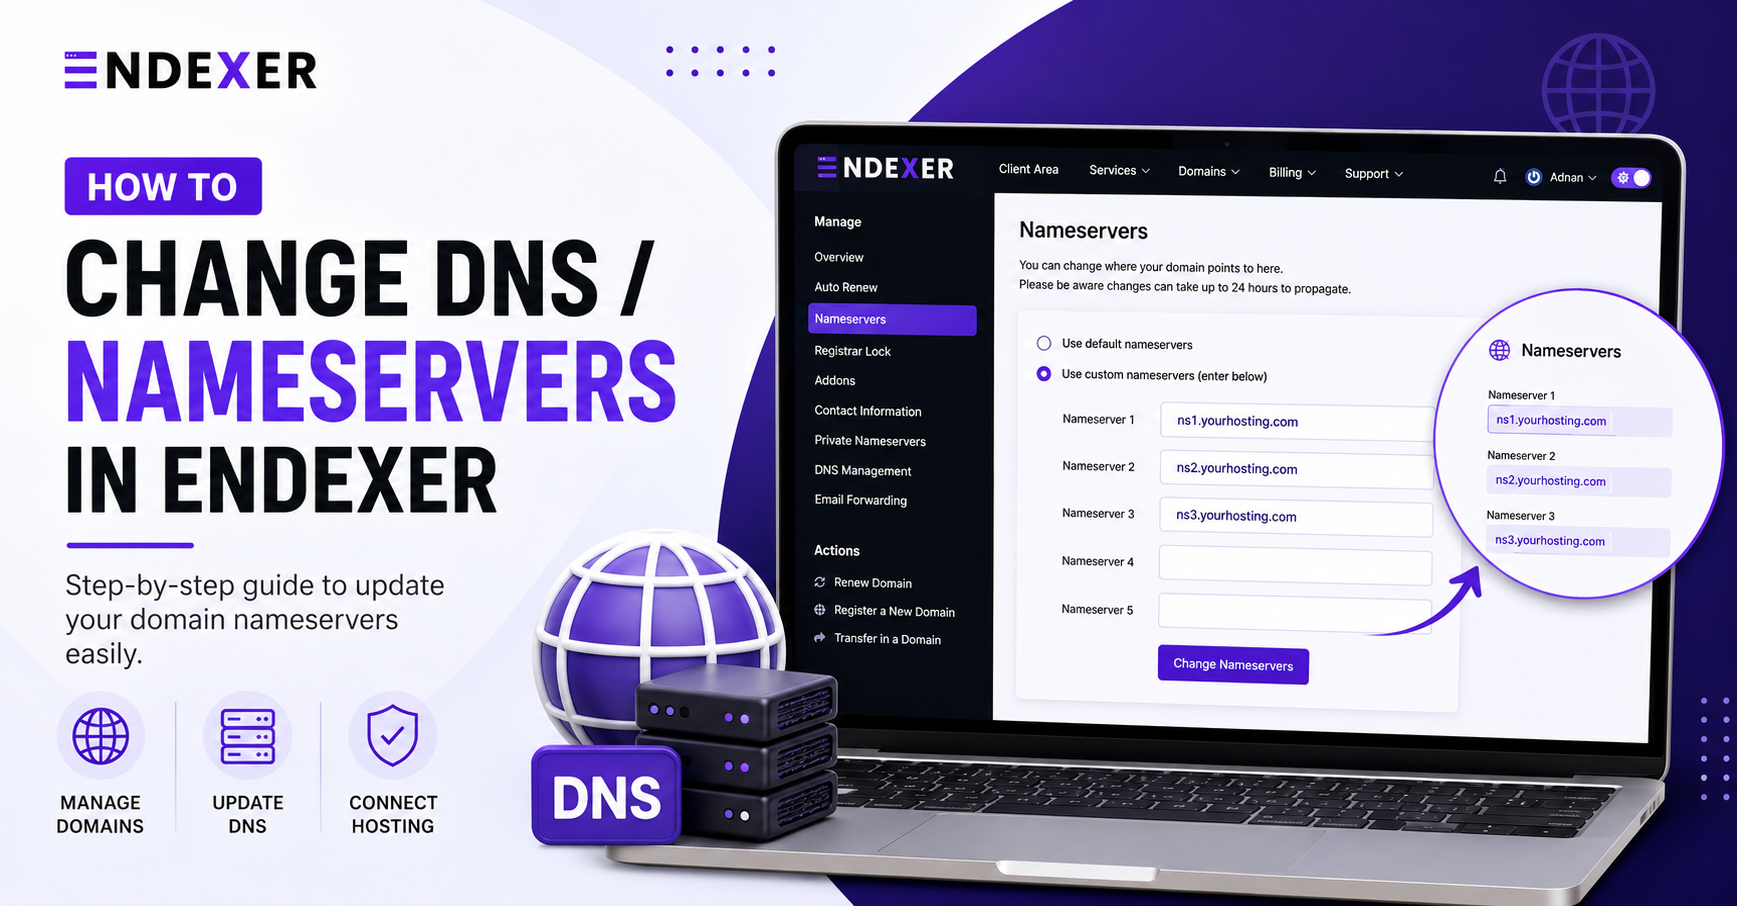
Changing your domain DNS or nameservers helps you connect your domain with your hosting server. If you have purchased hosting from Endexer or moved your website to a new hosting provider, you need to update your nameservers.
Follow these simple steps to change DNS settings in Endexer.
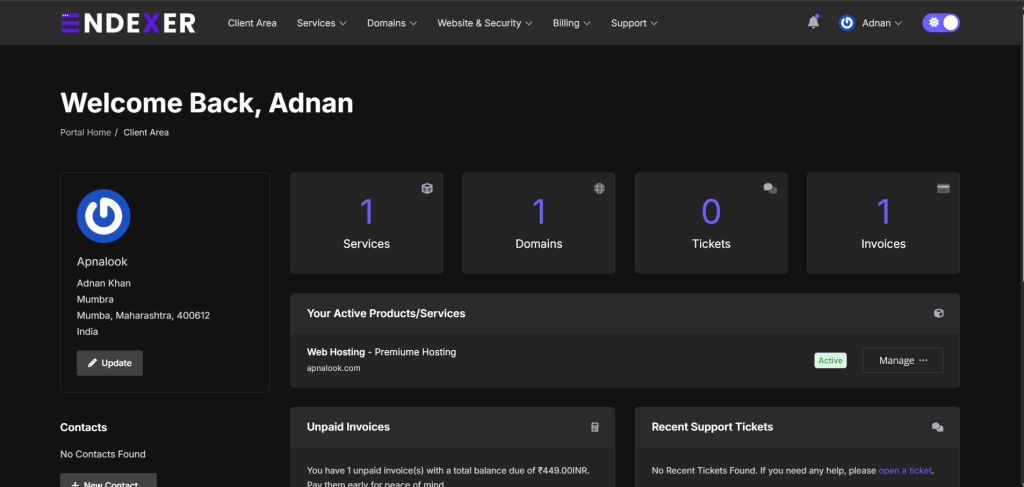
Step 1: Login to Endexer Client Area
Open the Endexer client portal and login with your registered email and password.
After login, you will reach your client dashboard where you can manage your domains, hosting services, invoices, and account settings.
Step 2: Open My Domains
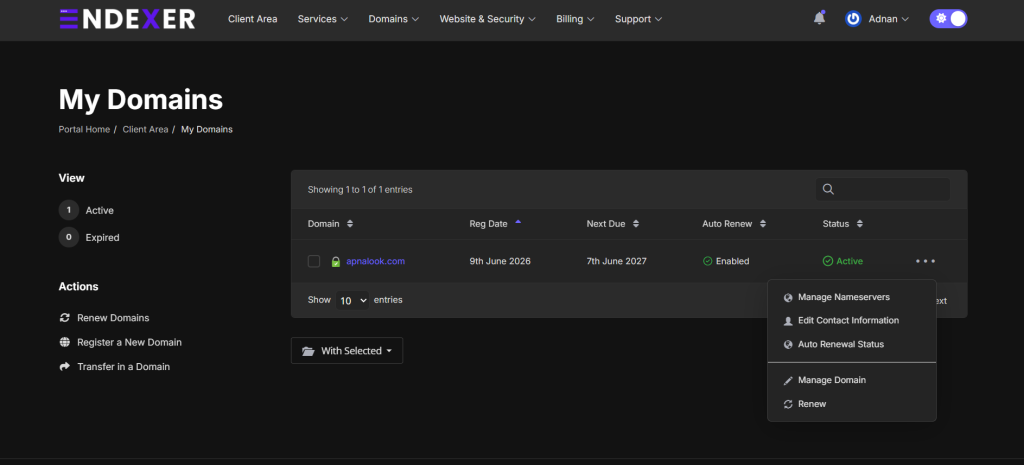
From the top menu:
Domains → My Domains
You will see your registered domains list.
Now:
- Find the domain you want to update
- Click on the three dots (…) option
- Select Manage Domain
Step 3: Open Nameservers Settings
Inside the domain management page:
Go to:
Manage → Nameservers
Now select:
Use custom nameservers (enter below)
This option allows you to add your hosting DNS details.
Step 4: Add Your Nameservers
Enter the nameservers provided by your hosting provider.
Example:
Nameserver 1:
ns1.endexer.com

Nameserver 2:
ns2.endexer.com

Nameserver 3:
ns3.endexer.com

Nameserver 4:
ns4.endexer.com
After adding the nameservers, click on:
Change Nameservers
Your DNS settings will be updated.
Step 5: Wait for DNS Propagation
After changing nameservers, your DNS update will take some time to work worldwide.
Usually it completes within a few hours, but sometimes it can take up to 24-48 hours.
Once completed, your domain will start pointing to your hosting server.
Important Note
Always make sure you enter the correct nameservers. Incorrect DNS settings can affect your website and email services.
If you are using Endexer Hosting, use the nameservers provided in your hosting account or welcome email